
The Ultimate Guide to Wall Hanging Installation for Beginners
Share this Post to:


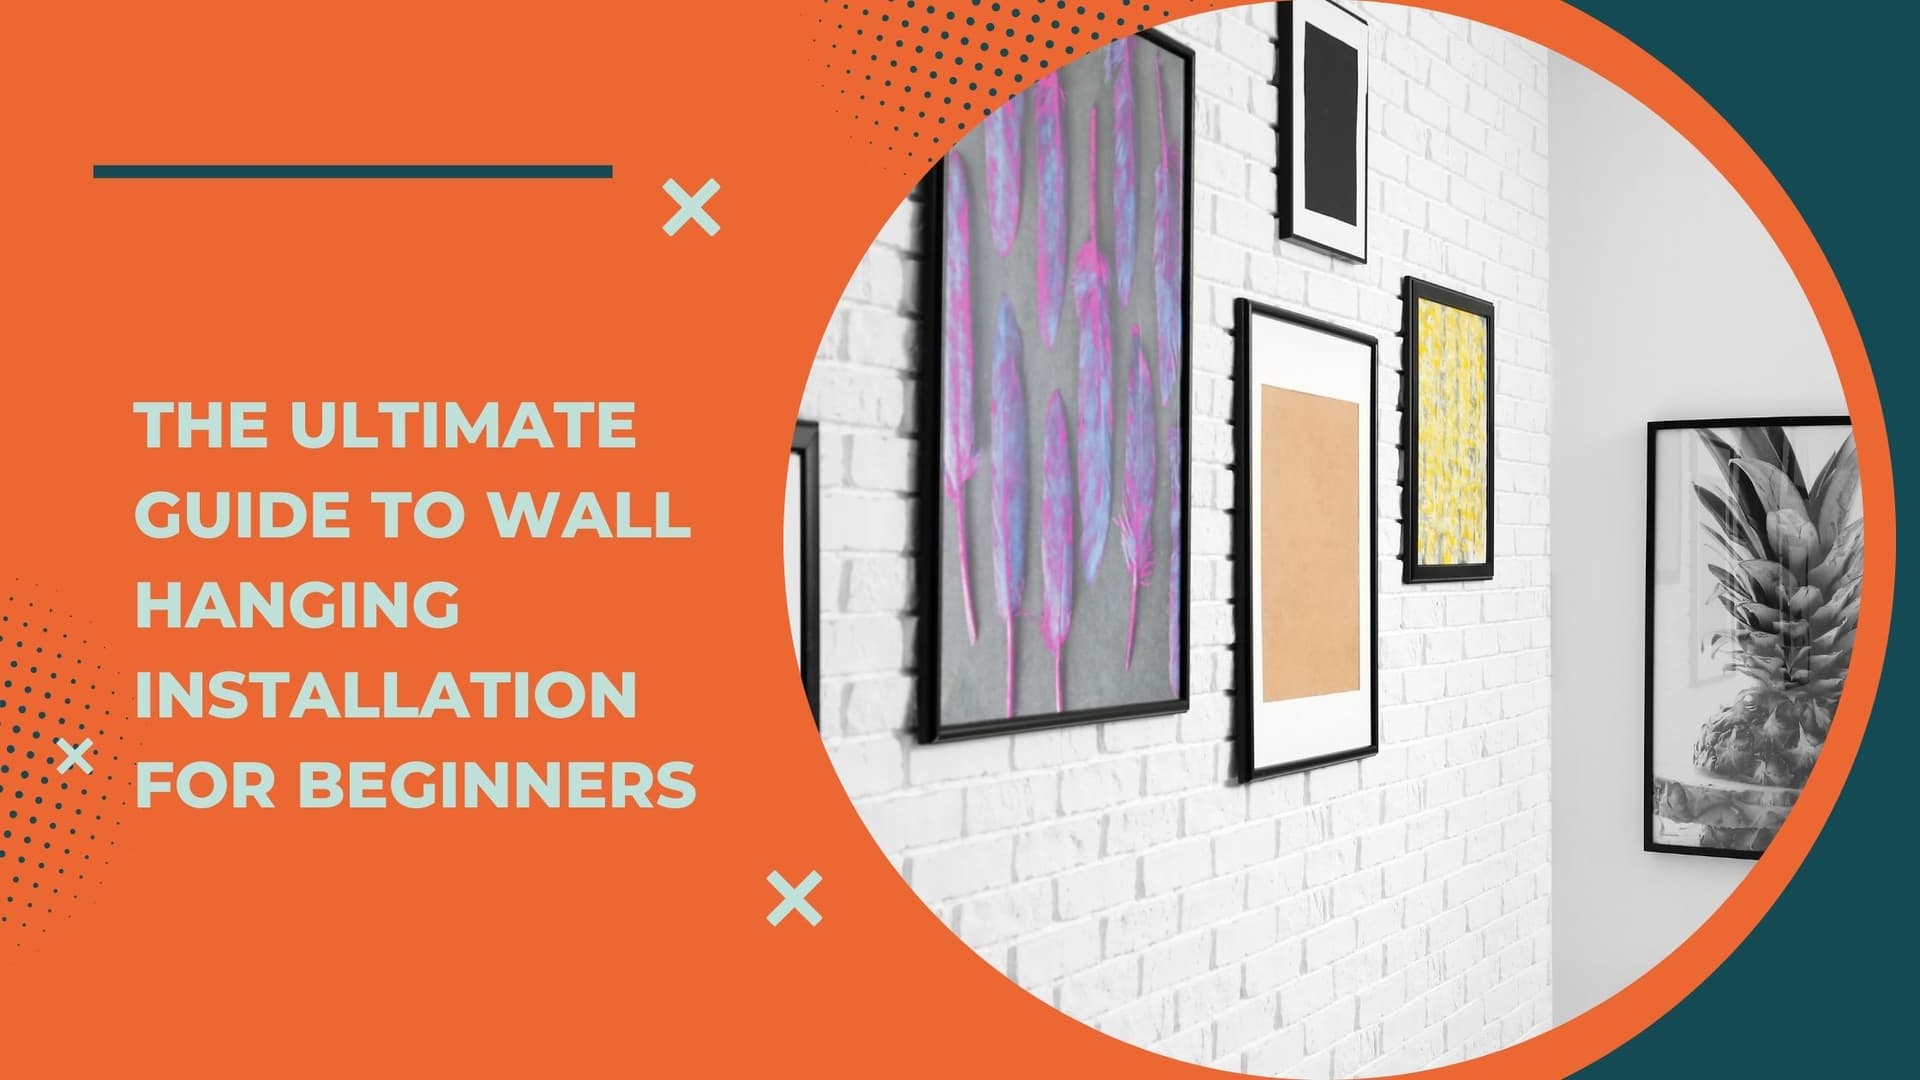
A wall-hanging installation can transform a dull area into a lively and home-like space, which will give you a touch of individuality. This is especially important when you are using the frame to hang artwork, photographs, mirrors, or shelves. Knowing the basics of wall hanging goes a long way toward guaranteeing you aesthetically pleasing results. How do I install wall decor? We got you! Here is a complete wall-hanging installation guide to enhance your skills on a do-it-yourself wall-hanging installation project. First, you should know the list of tools and materials to be used before performing the next stages of wall-hanging installations. This will smooth the process because every necessary item, document, or tool will be put in place as the process unfolds. Here's a list of all the tools and materials you will need: If you are looking for a step-by-step wall-hanging installation guide, then your search finishes here! Selecting the right hooks to hang on is very important for the stability of your hanging items to ensure they do not fall off the wall or cause damage. Here are some beginner wall-hanging tips to help you select the right hardware: Brick or masonry: Masonry anchors and screws will be required for a brick wall. It may be required to use a hammer drill to make some of the holes—pilot holes in this case. Studs: Anchor heavier items into studs for maximum support. For this purpose, use a stud finder to locate the. Drywall: For heavy items, plastic anchors or toggle bolts are proffered. Simple picture hanging hooks could be used for light-weight items. Plaster walls: Screws and anchors have specifically been designed to fit plaster to ensure a firm hold on the wall. Drilling holes beforehand can prevent cracking. By following our comprehensive wall-hanging installation guide, you can confidently carry out your DIY wall-hanging projects. Whether you're hanging a piece of artwork or installing functional shelves, these beginner wall-hanging tips will help you achieve polished and sturdy results. And with the right tools and techniques, you can ensure that every piece is securely fastened and that you have perfectly level wall hangings every time. Happy decorating!Introduction to the Basics of Wall Hanging Installation
A List of Essential Tools and Materials Needed
Step-by-Step Instructions for Installing Various Types of Wall Hangings
Shelves
Frames
Mirrors
Tips for Choosing the Right Hanging Hardware for Different Wall Types
Common Mistakes to Avoid and Troubleshooting Advice
Troubleshooting Advice
Newsletter Subscription
Categories
| Wall Hanging | (23) |
| Outdoor Furniture | (23) |